Are your photos of snow gray and lifeless? Do your skiing pictures turn out dull? Learn how to make them look beautiful using this rarely used camera setting.
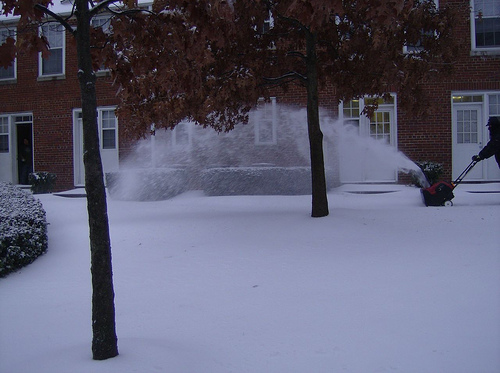
Take a look at this photo of a snow covered path:

Notice how the snow is dark and dull. But snow isn’t like that. Fresh snow is bright – even blinding on a sunny day. It’s even bright and sparkling on a moonlit night.
So what’s gone wrong?
Well, in truth, the photographer probably wanted this effect – if it was brighter you wouldn’t feel the annoyance at the unwanted snow or the hard work that goes in to clearing it once the sun has gone down. But often you don’t want your photos to come out this way.
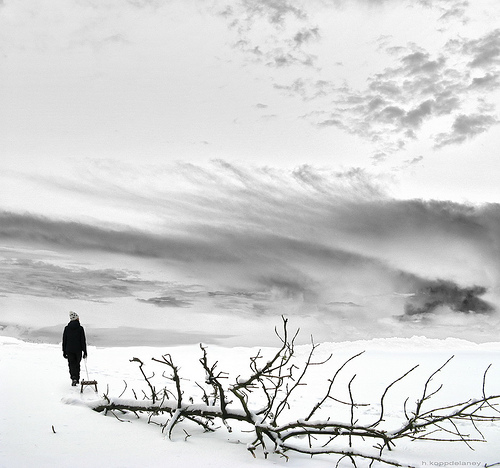
So what do you do if you want your shots to show the snow as bright and white like this one:

The Clue is in Your Eyes
You know how the pupils in your eyes get smaller and bigger depending on how bright it is? The reason why they do this is because if more than a certain amount of light shines in to your eye the world appears too bright and you can’t see properly.
A camera has the same problem. It’s important that exactly the right amount of light goes inside the camera. Too little and your picture will be dark (underexposed). Too much and you’ll lose detail in the lighter parts of your image (overexposed).
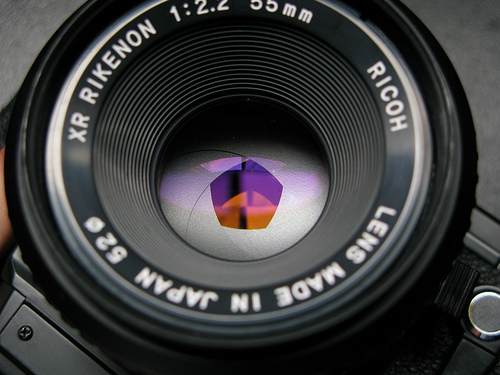
One way your camera controls the amount of light that goes through the lens is by using a mechanism called an Aperture. This works (and looks) very much like the pupil of your eye – it’s a hole that gets bigger and smaller.

The camera has some electronics inside that calculates how big the aperture needs to be for the scene you’re taking. It makes the aperture bigger or smaller depending on what it thinks is best.
The trouble is that sometimes the camera gets it wrong. This happens most often when the scene is unusually white or unusually dark. So your snow pictures tend to come out too dark and your photos of people in black clothes against a black background will often come out too light.
How to Fix This
Most film, Digital SLRs and compact digital cameras have a setting called Exposure Compensation. This could be a button on the outside of the camera or something you find using the menu.
Once you’ve found it you can use it to lighten or darken your photographs.
The default setting is 0 (zero). When set to 0 your camera ambien online 10 mg will make it’s best guess at how much light to allow through the lens.
If you change the setting to +1.0, the camera cialis online will allow twice as much light in as it thinks it needs – and your photograph will come out lighter and brighter. At -1.0 your camera will reduce the amount of light entering the camera by half.
It’s best to take some test shots before you start taking pictures for real – it would be a shame to miss those exciting snowball fight shots!
As a rough guide your photos of snow scenes will probably need an Exposure Compensation of plus 1.5 to 2.0 stops.
But Sometimes You Want it Gray…
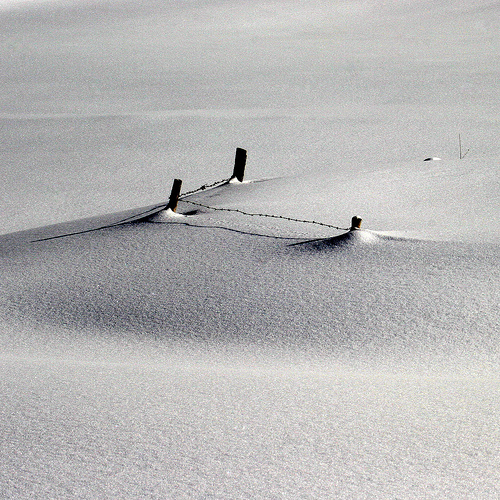
Okay, so sometimes you want your shot to be less than brilliantly bright for creative reasons. Making a snow photograph darker than real life tends to exaggerate the texture of snow. This picture is a great example.

Well there’s no reason why you can’t take this shot too. Sometimes you might even find yourself darkening a snow shot because it looks better that way.
What if You’re Not Sure?
You can employ a technique known as ‘bracketing‘. This is where you take one photograph using the camera’s suggested settings. Then change the Exposure Compensation setting to +1.0 and take another shot of the same scene. Then change it to +2.0 and take another. Next take shots at -1.0 and -2.0.
You now have five shots – one each at -2.0, -1,0, 0, +1.0 and +2.0. Each shot will be different to the next and you can choose which you prefer when you go home. If you want even more choice, you can take shots at intervals of 0.5.
Some camera have an auto-bracketing mode. When turned on your camera will automatically take a number of shots in quick succession. Each of the images will have a different Exposure Compensation applied to it – so you’ll have a range of shots from darker to lighter.
Can’t I Just Fix It When I Get Home?
Possibly but not always. The problem is that most cameras convert what they see to the JPEG format before storing them on your memory card. When they do this they lose the detail that it thinks you won’t need to see. When you get home and try to brighten the photo using Photoshop (or whatever you use) the dark areas or shadows of your photograph may turn out looking very odd.
Key Points to Learn
For your snowball pictures, skiing pictures and photos of snow to turn out well, follow these simple rules:
- Check your photos as often as you can as you take them.
- If your photos of snow are coming out too bright or too dull, adjust the Exposure Compensation setting to get it just right.
- Always remember to reset your Exposure Compensation setting after you’re done otherwise all of the photos you take afterwards may end up being adjusted and that won’t do!