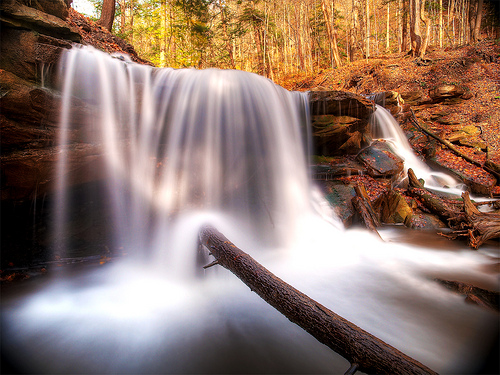
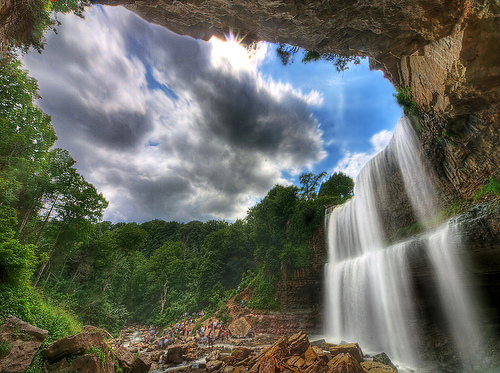
Take a look at this waterfall photograph. Notice how the falling water looks smooth and like fog or cotton. Do you want to know how to do that? It’s easy, read on…

The secret to making moving things blur in a photograph is to keep the camera’s shutter ‘open’ for a long time. When photographing waterfalls this normally means an absolute minimum of 1 second. For a really silky effect longer is better. In the shot above the shutter was kept open for 8 seconds.
Keeping the shutter open that long requires you to solve a couple of technical problems. Luckily they are easy to fix.
If you keep the shutter open for a long time, the Reciprocity Law requires us lower the amount of light coming through the camera lens. We can do that in a number of ways.
The easiest way is to stop down your lens to a very small aperture (say, f/22). This will require you to lower the shutter speed so that enough light enters the camera to make a good exposure.
However, on all but the dullest of days, f/22 may not be enough to get you a good long exposure time. You need to reduce the amount of light coming through the lens even more so that you can increase the shutter speed without over-exposing your photograph.
This is where photography filters come to our rescue.

Essential Equipment
Photography Filters
The filter you need is called a neutral density filter. If you haven’t seen a neutral density filter (usually shortened to ‘ND filter’, and said ‘en-dee filter’) before you’ll be disappointed. It doesn’t look much. It’s just a dark gray piece of glass that screws on to the front of your camera lens. Its only job is to make it darker ‘outside’.
Adding an ND filter is like putting sunglasses on your lens. Neutral density filters come in various strengths. As photographers work in f/stops, the packaging will say something like “2 stop neutral density filter”. A 2 stop ND filter will remove 2 stops of light. So if your exposure is 1 second at f/22, adding a 2 stop ND filter allows you to will take the exposure to 4 seconds at f/22.
In order to get the best shot you’ll need to experiment with exposure time. This will normally mean you’ll need a set of ND filters of varying strengths so that you can get exposures of say, 1 second, 2 seconds, 4 seconds and 8 seconds. That way you can see which comes out best.
A Tripod
So you’re shooting with a shutter speed of a second or more. You’re gonna need a tripod. That really should go without saying! Nobody can hand-hold for a second and not get so much camera shake that it ruins the shot. Although you might want to give it a try just to see if anything creative comes of it.
If you don’t have a tripod yet, it’s an essential item for a photographer. Check out this list of tips before you buy.
What If You Don’t Have an ND Filter?
Well an old trick is to use a polarizing filter instead. If you don’t have one already a polarizing filter is on my Photographer’s Essential Equipment List. A polarizer will use up about the same amount of light as a 2 stop ND filter. It can also have the advantage of removing reflections and bright highlights in the water.
2 stops may not be enough so you’re left with another option: go there when the sun is down. At dusk and before dawn the sun’s not bathing your shot in golden sunlight – so that’ll do the job of reducing the amount of light for you. Okay, so that may mean you end up with a cold and dull looking shot but without an ND filter, you have little choice.
Fancy Equipment
There is a thing called a Variable Neutral Density Filter. This is a single filter that’s made of two polarizing filters mounted on top of each other. The front-most filter can be rotated while the main body of the filter is screwed firmly on the camera. Because of the way polarizing filters work, rotating one of the polarizing filters changes how much light can pass through to your lens. You get a whole set of ND filters in one filter – but at a price. They are pretty expensive.
And Finally
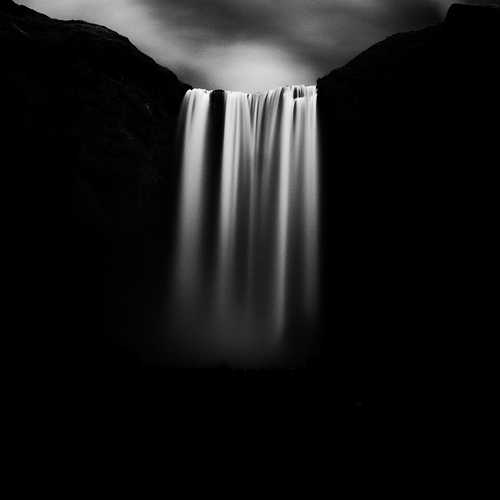
I’ll leave you with this unusual, atmospheric and beautiful shot from Massimo Margagnoni. If it’s not worth a facebook Like, I don’t know what is!

What’ѕ uρ, I rеaԁ your blogs regularly.
Your humοrіstіc stylе iѕ witty,
keeρ doіng whаt yοu’re doіng!